Since 2008, Emailed Checks has operated as a trusted payment delivery provider, enabling business clients to securely send electronic checks on their behalf.
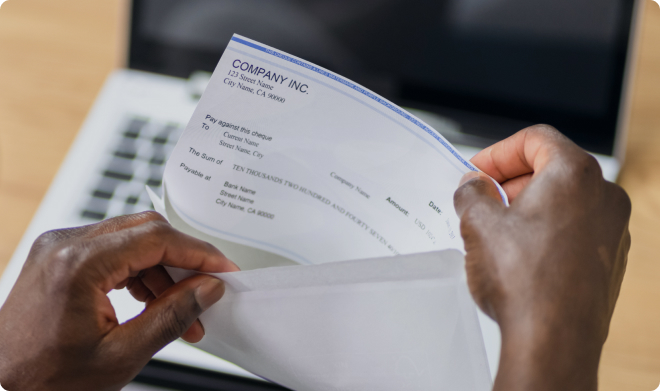
With our Digital Check solution, businesses can initiate a check electronically and deliver it to the recipient via a secure email link. The payee then prints the check using a standard laser printer and copy paper.
Once printed, the Digital Check is fully valid and should be processed like any traditional paper check. However, because it lacks MICR ink and is printed on standard paper, some bank branch staff may require guidance on handling this modern form of payment.


This check was printed from an authorized check record and is not a Check 21 replacement document.
To verify the authenticity of this check—including payee, amount, account, and routing information—please contact the issuer directly at 866-535-3954.
Since this check is printed without MICR ink, it may not process as smoothly through optical readers. If it fails Image Quality Assurance (IQA), please refer to the guidelines in Handling Image Quality Assurance Errors when Processing Teller Transactions before treating it as an unscannable check.
Having trouble scanning?
If scanning is unsuccessful, please manually enter the account and routing information.
Need assistance?
Many branch managers are familiar with digital checks that meet standard banking specifications and can provide further guidance.
Printing the Check – Begin by saving a digital copy as a PDF. You can use any standard printer with either black or color ink. While basic white paper is acceptable, using a heavier paper stock (24 lb recommended) provides the best results. In your printer settings, ensure the scale is set to “Actual Size” to avoid resizing or distortion—do not select “Fit” or “Shrink to Fit.”
Mobile Deposit Option – Using your computer or tablet along with your smartphone, click the “Mobile Deposit” button. Select “Front of Check” and use your bank’s image capture app to take a clear photo of the front. Then, click outside the box or press “Esc”, choose “Back of Check”, align the endorsement area, and capture an image of the back. Finally, click the “Deposit” button to complete the process.
ACH Direct Deposit Option – Select the “ACH Direct Deposit” option and follow the on-screen instructions to enter and submit your banking information for direct deposit.


Call us or write an e-mail
Make sure your printer settings are “Actual Size”, not “Shrink to Fit” or “Fit to Page”.
Contact us today to get a demo and find out how we can help with your printing and mailing needs!

All Rights Reserved © 2008-2024 Checkissuing.com